XLSX Export in Result Viewer 2020
Accessing results made easy with the available Excel XLSX File generation with the SOFiSTiK Result Viewer.
There are different options available to get to the Excel XLSX file. Which of those options is the right one for you, depends on how often you want to extract the information. Should it be updated after every calculation or is it just a single and manual export.
The XLSX file export is a feature of the “SOFiSTiK Result Viewer”. It can be used either graphically or by using text input (CADiNP). This post is about the graphical input only.
Learn how to Export Results as XLSX File using the text input.
The “SOFiSTiK Result Viewer”
The “SOFiSTiK Result Viewer” is available as a standalone application as well as user task within “SOFiSTiK Structural Desktop”. I recommend the latter, as you don’t have to save the result viewer input file separately. Every created list is saved in the *.sofistik file. Which is quite convenient.
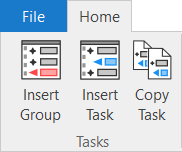
To access the “SOFiSTiK Result Viewer”, you’ll need to insert the task “Interactive Lists and Graphics” to the “Project Navigation” within “SOFiSTiK Structural Desktop”. Use the “Insert Task” command in the “Home” Ribbon.
You’ll find the task “Interactive Lists and Graphics” in the section “Postprocessing” in the task library.
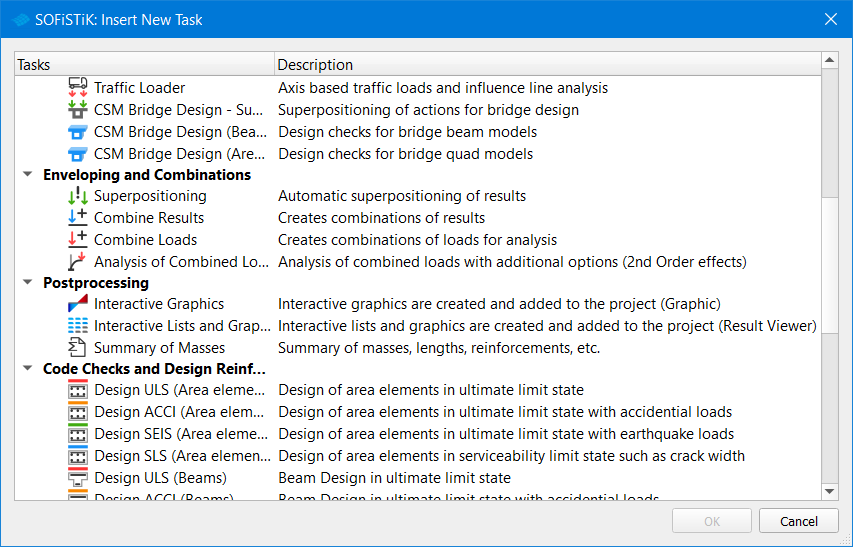
Select the task in the list and confirm with “OK”. It appears automatically in the “Project Navigation” to the left. To move the task in the Project Navigation, drag and drop it.
Open the task with a double-click.
The application opens within “SOFiSTiK Structural Desktop”. By default, a list shows up as well as the ribbons change.
Let’s go through the steps to create a list which to presented in the report and export later as XLSX file.
Results
Select the results you’re interested in first. Activate the “Result” ribbon. Go to the “Results” tab and click on “Selection”.
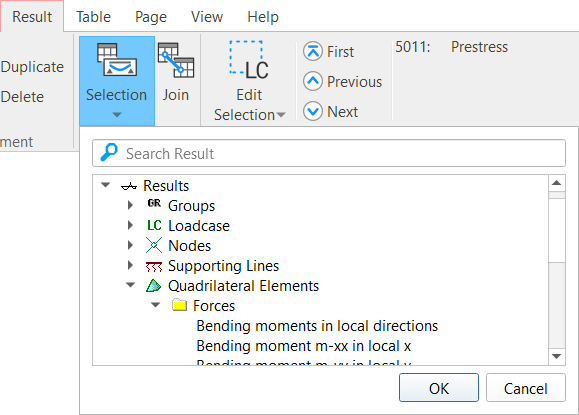
You should see all the available results for your project. Select the one you are interested in to export as an XLSX file.
Load Case
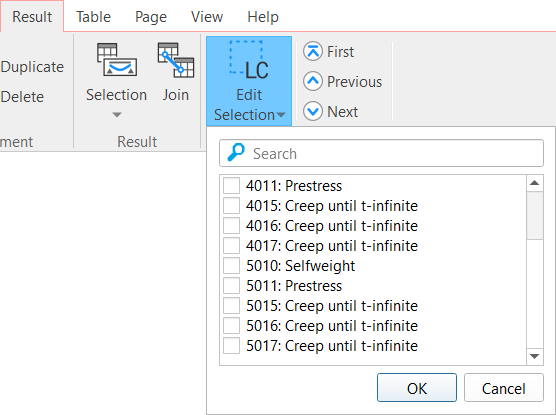
In the next step, you need to select the load case number. Stay in the ribbon “Results and click on “Edit selection”. You’ll get a list of the load cases. Select the load case by ticking the checkbox.
These are the main steps to take to compile a list in “Result Viewer”. If you want to represent the list in the “Report Browser”. Just calculate the task “Interactive Lists and Graphics” in the “Project Navigation”.
Single Export of the Activated List
The first option available is to export the list which is shown currently in the “Result Viewer”.
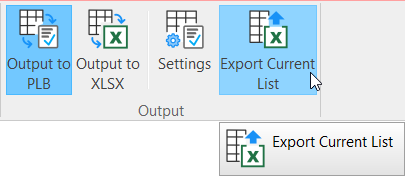
Switch to the ribbon “Table” and click on the command “Export Current List” at the rightest tab is the “Output” tab.
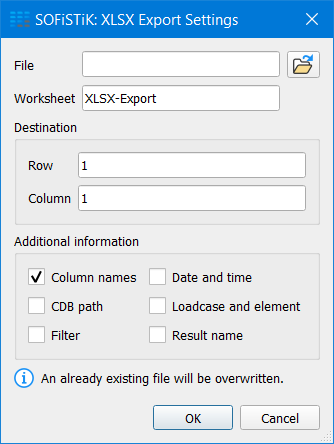
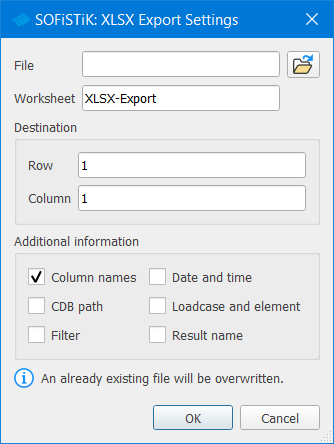
The “SOFiSTiK: Export Settings” input opens.
As this command is processed only once, none of the entered information is saved.
You can enter the XLSX file name directly or using the folder browse icon to switch to another directory to create the XLSX file. To title the worksheet, use the input “Worksheet”.
Besides defining the position where the data is inserted in the XLSX file – adding further information to identify the source is possible too.
If you look to the bottom left corner, you’ll find the information “An already existing file will be overwritten”. Please keep that in mind when entering the file name directly without browsing the directory.
To create the XLSX file, confirm your input with “OK”. Check the directory you selected; you’ll find the XLSX file there.
Automated Export
In some cases, the first option is fully satisfying. However, to continuously repeat this process in can get time-consuming.
Now let’s look at how to the automated export works. The goal is, that every time the task “Interactive Lists and Graphics” is calculated – the XLSX file should get updated.
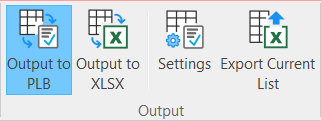
You can stay in the tab “Output”. By default, the option” Output to PLB” is activated. PLB is the “Report Browser” file format. The created list is printed to be visualised in the “Report Browser” only.
To switch to XLSX export “simply click on “Output to XLSX”.
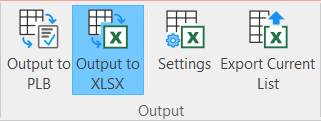
In addition to the PLB file for the “Report Browser”, an XLSX file is generated.
However, to finally get the XLSX file you need to set-up the “SOFiSTIK: XLSX Export Settings”. Click on the “Settings” command to the right of the “Output to XLSX” command.
The Dialogue box looks identically as the one we used to export the currently active list. Well, the difference is that the entered information is saved. What is quite important, as this information is required, every time the “Interactive Lists and Graphics” task gets calculated.
After you entered the required information, confirm it with “OK”.
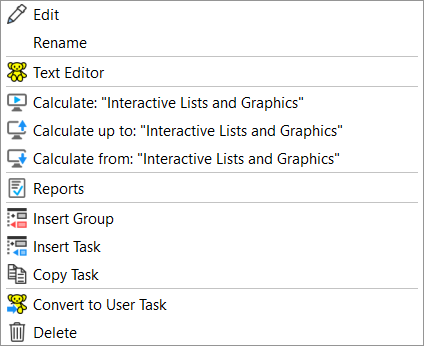
If you look to the directory no file was created, yet, to get the XLSX file the “Interactive Lists and Graphics” task must be calculated in the “Project Navigation”. The quickest way is a right-click and to select the “Calculate: Interactive Lists and Graphics” command in the context menu.
The XLSX file pops up in the directory. And this brings me already to the end of this workflow.
Learn how to Export Results as XLSX File in CADiNP.
Wrap-Up
Just a few clicks within the “Result Viewer” and you can generate an XLSX file of the results available. Which is powerful to share and document results in an external file format as the PLB format. I see the most significant advantage in this feature to connect existing spreadsheets with the analysis results of SOFiSTiK. So keeping you familiar workflow, but using the advanced analysis capabilities of SOFiSTiK.
Software version: SOFiSTiK FEA v2020-00 and Revit 2020.1.